 Burlington
 Why Two Burlington Homes Never Get the Same Quote
Ask three siding contractors to price the same Burlington house and you'll often get three different numbers, sometimes far apart. That's not because someone is padding the bill or someone else is lowballing to win the job. Siding pricing is genuinely variable — it depends on the size and shape of the house, what's underneath the existing siding, how the crew handles moisture management, and which product line goes on the wall. Homeowners who understand what actually moves the number can read a quote intelligently instead of just comparing bottom-line totals.
This page walks through the real cost drivers for a siding replacement in Burlington and greater Skagit County, without inventing prices we can't stand behind. Every house is different, and any contractor who gives you a firm number before walking the property and looking at the sheathing is guessing.
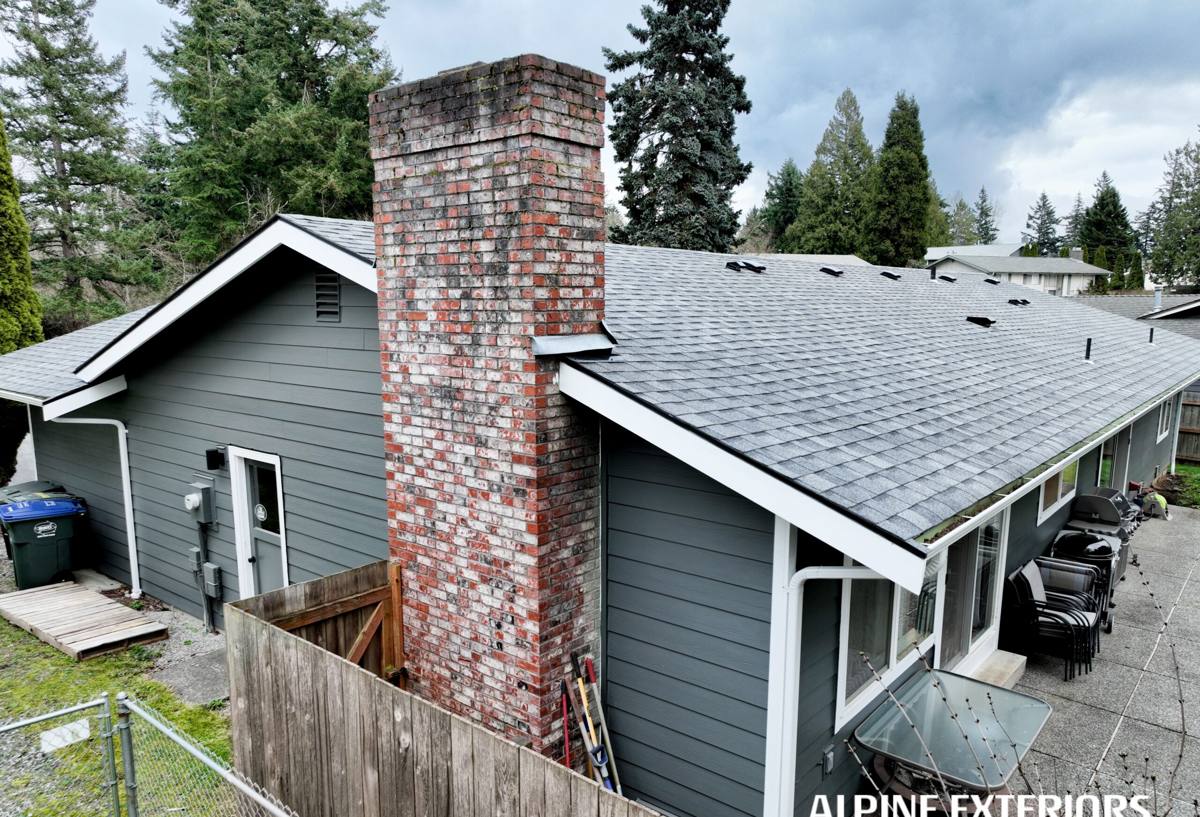
The Big Structural Drivers: Size, Height, and Wall Complexity
Square footage is the obvious starting point, but it's not the only thing that matters. Two 2,200-square-foot homes can cost noticeably different amounts to re-side depending on their shape and access.
What Adds Complexity (and Cost)
- Two-story and three-story walls require staging or lift equipment, which slows the crew down
- Cut-up floor plans with lots of corners, dormers, and gables take more cuts and more waste
- Steep or tight lots (common on hillside lots around Burlington and up toward the Cascade foothills) can limit staging and material staging areas
- Homes with a lot of trim, window casings, and architectural detail take longer to flash and finish correctly
- Porches, bay windows, and roof-to-wall intersections each add flashing detail that a simple rectangular wall doesn't need
Rough Cost-Factor Comparison
| Factor | Lower Relative Cost | Higher Relative Cost |
|---|---|---|
| House shape | Simple rectangular footprint | Many corners, dormers, gables |
| Height/access | Single story, flat lot | Two-plus story, steep or wooded lot |
| Existing surface | Sound sheathing, no rot | Rotted sheathing needing replacement |
| Trim detail | Minimal trim, simple openings | Heavy trim, custom window/door detail |
| Material | Basic lap profile, standard colors | Shake/board-and-batten mix, premium ColorPlus tones |
None of these factors alone determines the final number, but they stack. A tall, detailed house on a steep lot will cost meaningfully more per square foot than a simple ranch on a flat lot, even with identical siding material.
Tear-Off vs. Overlay: What's Under the Old Siding Matters
One of the biggest — and least visible — cost swings comes from what the crew finds once the old siding comes off. In an ideal job, the sheathing underneath is sound, the house wrap is intact, and the crew installs new weather-resistive barrier, flashes the openings, and hangs new siding on schedule.
That's not always what's there. Skagit County's wet winters mean older siding systems, especially ones with failed caulk joints or wood products that were never properly back-primed, can hide moisture damage in the sheathing behind them. When that happens, the honest path is to replace the damaged sheathing before new siding goes on — covering rot with new siding just traps the problem. This is exactly the kind of line item that can't be quoted sight-unseen, and it's why a contractor who promises a fixed price without inspecting the wall assembly first is skipping a step that matters.
We don't install over existing siding. A full tear-off lets us actually see the condition of the wall, correct any flashing or moisture issues we find, and start the new siding on a clean, verified substrate. It costs more labor than an overlay, but it's the only way to know what you're actually covering up.
Material Choice: The Line Item That Moves the Number Most
After size and wall condition, the siding material itself is the largest swing factor. Vinyl siding is generally the least expensive material to buy and install. Engineered wood products like LP SmartSide sit in the middle. Fiber cement — what we install exclusively — typically costs more upfront than vinyl, and often more than engineered wood, because of the material itself and the additional labor fiber cement installation requires (proper fastening patterns, joint treatment, and factory-finish handling).
We understand that upfront number is the first thing homeowners look at, and we're not going to pretend fiber cement is the cheapest option on the shelf. What we can speak to honestly is what that difference in cost buys over the life of the siding: a non-combustible product, a factory-baked finish that doesn't need repainting on the same schedule as field-painted wood or fading vinyl, and engineered moisture resistance built specifically for wet climates. For a full breakdown of how we weigh material trade-offs, our product-specific pages go into the details on each option; this page is about the cost mechanics, not re-litigating that comparison.
Why Material Cost Isn't Just "Price Per Square Foot"
Two houses re-sided in the same material can still land at different price points because of trim and accessory work — corner boards, frieze boards, soffit and fascia repair, and the number of window and door openings that need new flashing and casing. A quote that only lists "siding" without breaking out trim, flashing, and accessory work is harder to compare against a more detailed one, even if the headline number looks similar.
Local Climate Factors That Add to the Job
Burlington sits in Skagit County, close enough to Puget Sound and Padilla Bay that salt-laden air is a real factor on fasteners, flashing, and any exposed metal. Add the region's driving winter rain and the long stretch of the year when north-facing walls and shaded siding stay damp enough to grow moss, and you've got a climate that's genuinely harder on a building envelope than a lot of the country.
That climate shows up in the cost picture in a few specific ways:
- Fastener and flashing material — corrosion-resistant fasteners and flashing details cost more than the bare minimum, but they're what actually holds up near salt air
- Weather-resistive barrier detailing — proper house wrap lapping and taping takes more time to do correctly in a region where wind-driven rain is normal, not occasional
- Moss and algae exposure — shaded, north-facing walls need siding and finishes that resist moisture and biological growth without constant homeowner maintenance
- Scheduling around weather windows — a tear-off job needs a stretch of dry-enough days to keep the open wall protected, which can affect scheduling more here than in a drier climate
None of this means every Burlington job costs more than a similar job somewhere drier — it means the crew's approach to flashing, fastening, and moisture management has to account for what this climate actually does to a house over twenty or thirty years, not just what looks fine on installation day.
Labor, Permits, and the Cost of Doing It Right
Labor is typically the largest single component of a siding job, larger than the material itself in most cases. Correct fiber cement installation involves specific fastening patterns, joint and butt-seam treatment, clearances at grade and roof lines, and caulking practices that follow the manufacturer's published installation instructions. Skipping or rushing these steps is how warranty claims get denied later — and it's also invisible from the curb, which is exactly why it matters to ask a contractor how they handle it rather than assuming.
Skagit County and the City of Burlington require permits for siding replacement in most cases, particularly when sheathing or structural elements are being replaced. Permit fees and inspection scheduling are a real, if usually modest, part of the total project cost and timeline. A contractor who skips permitting to save you money upfront is trading a small savings now for a real risk later, especially at resale.
Hidden Costs Homeowners Often Miss
Beyond the headline siding price, a handful of items regularly get left out of rough estimates but show up in a real project:
- Sheathing repair or replacement if rot or moisture damage is found during tear-off
- Window and door flashing correction, especially on older homes with outdated flashing details
- Trim, soffit, and fascia repair or replacement where the old siding overlapped damaged wood
- Disposal and hauling of old siding material, which varies with the material type and quantity
- Paint or touch-up on any adjacent trim, gutters, or fixtures disturbed during the work
- Landscaping protection or minor restoration around the foundation line where staging and material staging occurred
A thorough written estimate should either include these items explicitly or flag them as line items that depend on what's found once the old siding is off. If a quote is silent on all of them, ask directly — it's a fair question and a good contractor will have a straight answer.
How to Get an Estimate You Can Actually Compare
Because so much of the final cost depends on what's found once work starts, the most useful thing a homeowner can do is get an in-person walkthrough rather than relying on a phone quote or an online calculator. A written estimate worth comparing against another should specify the material and product line by name, whether it includes full tear-off or overlay, how trim and flashing work is handled, and what happens — cost-wise — if the crew finds damaged sheathing once the old siding is off.
Comparing two quotes on total price alone, without knowing whether they include the same scope of tear-off, flashing, and trim work, tells you less than it seems to. Ask each contractor to walk you through what's included, and be wary of any number that seems noticeably lower than the others without an explanation for the gap.
Get a Straight Look at Your Numbers
If you're weighing a siding replacement in Burlington or anywhere else in Skagit County, we're glad to walk your property, look at what's actually going on behind the existing siding where we can, and put together a written estimate that spells out material, scope, and what could change the number once tear-off starts. There's no pressure and no cost to get that estimate — use the form below to get started.