 Burlington
 Why Siding Repair Looks Different in Bow
Bow sits close to the water on the edge of Skagit County, and that location shapes what happens to a home's exterior over time. Salt-laden air off the bay accelerates corrosion on fasteners and trim, wind-driven rain finds every weak seam and gap, and the shaded, moisture-heavy stretches of the year here run long — long enough that moss and algae get a real foothold on north-facing walls and anything under tree cover. None of that is unique to one house on one street. It's a regional pattern, and it means siding problems in Bow tend to show up earlier and progress faster than they would in a drier inland climate.
That's the backdrop for every repair call we take in this area. A crack or a soft spot that might sit stable for years somewhere drier can turn into trapped moisture and rot within a season or two out here. Repair work in Bow isn't just about patching what's visible — it's about understanding why the damage started in a climate that gives siding very little room for error.
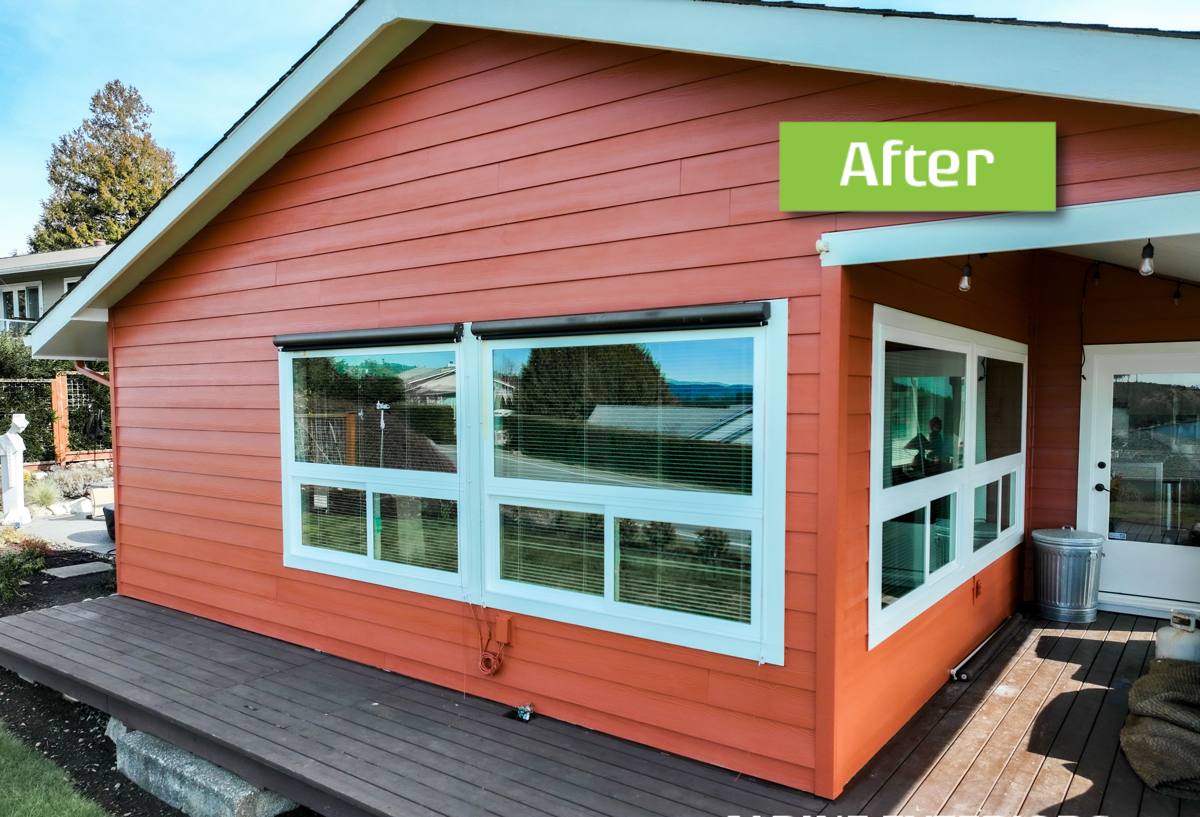
Signs Your Bow Home's Siding Needs Repair
Most siding failures give warning signs well before they become structural problems. On homes in and around Bow, we typically see these show up first:
- Soft or spongy spots when you press on a wall, especially near the bottom courses or below windows
- Persistent green or black staining that keeps coming back after cleaning, particularly on shaded or north-facing walls
- Cracked, bubbling, or peeling paint that keeps recurring in the same spots season after season
- Gaps opening up at seams, corners, or trim where caulking has shrunk or failed
- Visible warping, cupping, or separation between boards or panels
- Rust streaking below nail heads or fasteners, common where salt air accelerates corrosion
- A musty smell near exterior walls inside the house, which often points to moisture already behind the siding
Any one of these on its own might be minor. Several together, or one that keeps returning after a homeowner tries to clean or paint over it, usually means the problem is underneath the surface, not on it.
What a Correct Repair Job Actually Involves
Finding the Real Cause, Not Just the Symptom
Patching a hole or replacing a cracked board without figuring out why it happened is the most common shortcut in this trade, and it's the reason so many repairs fail again within a year or two. A correct repair starts with tracing the damage back to its source — a failed flashing detail, a caulk joint that's opened up, a gutter that's been overflowing onto a wall, or moss holding moisture against the siding long enough to break it down. Fix the board without fixing the cause, and the same spot fails again.
Testing for Hidden Moisture
Visible damage is rarely the whole story. Wherever there's a sign of trouble, we check the surrounding area with a moisture meter before deciding how far the repair needs to go. In a climate that sees as much driving rain as this one, water can travel well past the point where it first got in, and siding that looks fine right next to a damaged section can still be saturated underneath. Cutting the repair short because the visible damage looked contained is how a homeowner ends up paying for the same repair twice.
Matching Material and Finish
Once the cause is addressed and any wet material is removed, the visible fix has to actually match the rest of the house — not just close enough to be tolerable, but a genuine match in profile, exposure, and finish. On factory-finished fiber cement, that means matching the coating system, not just the color chip. A patch that's slightly off in sheen or texture is often more noticeable, long term, than the original damage was.
Repair or Replace? How We Make That Call
Not every damaged section should be repaired, and not every repair should turn into a full re-side. The right call depends on how much of the wall is affected and what's driving the damage.
| Situation | Usually points to | Why |
|---|---|---|
| Isolated damage, single wall or small section, cause identified and fixable | Targeted repair | The rest of the siding is sound; there's no reason to replace what isn't failing |
| Damage repeats in the same spot after a prior repair | Repair the underlying detail first, then the siding | The siding wasn't the real problem — flashing, caulking, or drainage was |
| Widespread soft spots, staining, or warping across multiple walls | Full or partial replacement | Isolated patches on aging, saturated material rarely hold up and often look worse than the original wear |
| Older non-fiber-cement siding with recurring moisture damage | Replacement with fiber cement, not another patch | Repeated patching on a material that's already failing under this climate is a short-term fix at best |
We'll tell you honestly which category a given job falls into. There's no upside for us in talking a homeowner into a full replacement when a repair will genuinely hold, and no upside in patching something that's going to be back on our schedule next year.
Why We Repair With James Hardie Materials
We install James Hardie fiber cement siding exclusively, and that carries into how we repair. When a repair calls for new material — a replacement board, a corner piece, a section of panel — we use Hardie product to do it, matched to the ColorPlus finish where the home already has it. Fiber cement doesn't absorb water the way wood-based products do, it doesn't feed moss and algae growth the way some siding surfaces do, and it holds a factory finish far longer than field-applied paint. That matters in Bow specifically, where salt air and a long wet season are already working against whatever's on the wall.
If a home has older wood, engineered-wood, or vinyl siding and the damage is more than a small, isolated spot, we'll say so plainly: patching failing material with more of the same material just resets the clock on the same problem. In those cases the honest recommendation is often a partial or full replacement using fiber cement rather than another short-term patch, and we'll walk through why before recommending it — not push it as the only option regardless of the situation.
Our Bow Siding Repair Process
- On-site inspection of the damaged area and the surrounding siding, including a moisture check
- Identify the underlying cause — flashing, caulking, drainage, moss buildup, or fastener failure
- Written scope and cost before any work starts, covering both the repair and the root-cause fix
- Remove and replace only the material that's actually compromised, drying out the area first if needed
- Correct the underlying issue (reflash, reseal, redirect water) so the same spot doesn't fail again
- Match new material and finish to the existing siding as closely as the product allows
- Final walk-through so you can see exactly what was done and why
Why a Crew That Already Works in Bow Matters
Bow is a small, spread-out community, and a lot of its housing sits close enough to the water or under enough tree cover that the same wall on two different properties can weather very differently. A crew that's already worked in this stretch of Skagit County has seen how exposure to the bay, wind direction, and shade patterns actually play out on siding here — which walls tend to hold moisture the longest, where moss takes over first, and which older repair details tend to fail again in a few years. That's knowledge you build by working the area repeatedly, not by showing up once.
There's also a practical side to it. A contractor based nearby can get to a repair without a long drive eating into the appointment, and is realistically available if a repair needs a follow-up visit or the underlying cause turns out to be more involved than expected once the siding's opened up. For a rural, semi-coastal area like Bow, that local familiarity is worth as much as the repair itself.
What Siding Repair Costs Depend On
| Factor | Why it moves the cost |
|---|---|
| Extent of hidden moisture damage | Repairs that stop at rotted framing or sheathing, not just the siding, cost more but prevent the repair from failing again |
| Height and access | Second-story walls, steep grades, or tight sightlines near the water add time and equipment |
| Root-cause work required | Reflashing, resealing, or correcting drainage adds labor beyond the visible patch, but skipping it usually costs more later |
| Material match | Matching an existing ColorPlus finish or an older siding style can take more sourcing time than a straightforward replacement |
| Size of the affected area | A single board is a different job than a full wall section, and pricing scales accordingly |
We give a written estimate after the inspection, not before, because guessing at scope before seeing what's actually happening behind the siding tends to produce numbers that don't hold up.
Keeping Repaired Siding From Failing Again
- Rinse moss and algae off shaded or north-facing walls before it has a chance to build up, rather than after it's established
- Keep gutters clear so overflow isn't running down the same section of wall repeatedly
- Trim back vegetation that's holding shade and moisture against the siding
- Recaulk seams and trim joints on a regular schedule rather than waiting for a gap to open up
- Walk the exterior once or twice a year and press-test any spot that looks discolored or different from the surrounding wall
If you're dealing with a soft spot, recurring staining, or a repair that didn't hold the first time, we're happy to take a look and give you a straight answer about what's actually going on — no pressure, no upsell, just an honest assessment and a free estimate.