 Burlington
 Conway's Climate Puts Board & Batten to the Test
Conway sits low in the Skagit River delta, close enough to Skagit Bay and Puget Sound that salt-laden air is a daily fact of life, not an occasional weather event. Combine that with the driving, wind-pushed rain that comes through the valley in fall and winter, plus a moss season that can run eight months or more on shaded north and west walls, and you have one of the tougher siding environments in western Washington. Board & batten siding — with its exposed vertical seams and repeating batten strips — has more joints and more edge grain exposed to the weather than lap siding does. That's not a reason to avoid the look; it's a reason to make sure every seam, fastener, and gap is detailed correctly before the first coat of paint goes on.
We've been doing exterior work in and around Burlington and the lower Skagit Valley long enough to know which walls on a Conway property take the worst of the weather, and which details actually hold up out here versus in a drier inland town. That local pattern-recognition is worth more on a board & batten job than on almost any other siding style, because board & batten lives or dies on its details.
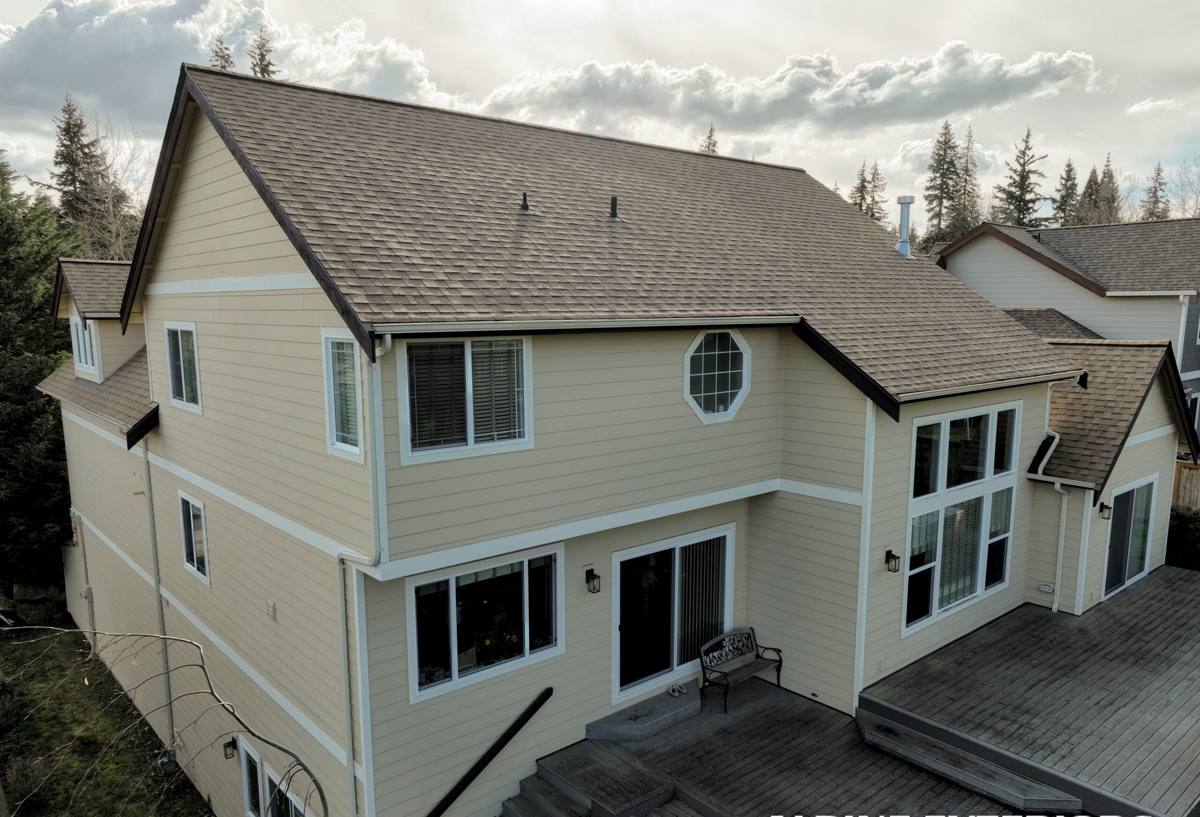
Why Board & Batten Fits This Area
Board & batten has deep roots in farm and outbuilding construction throughout the Skagit Valley, and that agricultural, vertical-plank look reads naturally on the rural and semi-rural properties around Conway — farmhouses, converted barns, newer builds going for a modern-farmhouse or craftsman exterior. It also works well as an accent: a gable end, a dormer, a porch surround, or a full elevation paired with lap siding elsewhere on the house.
Beyond looks, the vertical lines shed water differently than horizontal lap siding. Done right, that can be an advantage in a wet climate — water runs straight down the face of the board instead of collecting along a series of horizontal laps. Done wrong, with battens fastened directly to sheathing and no drainage path behind them, board & batten traps moisture behind every batten strip and rots from the inside out. The style itself isn't the risk. The installation is.
Where It Works Best on a Conway Property
- Gable ends and dormers that get heavy wind-driven rain
- Full-house application on farmhouse, craftsman, or modern rural designs
- Accent walls — entries, porch gables, garage faces — paired with a different Hardie profile elsewhere
- Outbuildings, shops, and detached garages built to match the main house
What a Correct Board & Batten Installation Actually Involves
Most board & batten failures we get called out to inspect trace back to two or three shortcuts, all of them invisible once the house is painted. Here's what has to happen underneath, in order.
1. A Drainage Plane, Not a Direct Nail-Up
Battens and boards need a water-resistive barrier behind them and, ideally, a rainscreen gap — vertical furring strips or a drainage mat — so any moisture that gets past the surface can drip out at the bottom instead of sitting against the sheathing. On a property this close to the bay, with this much annual rainfall, skipping the rainscreen is the single most common reason board & batten siding rots prematurely.
2. Correct Batten Spacing and Fastening
Battens have to land over a seam or over solid backing, be fastened per the manufacturer's schedule (not just "close enough"), and leave the boards behind them room to expand and contract with moisture and temperature. Over-fastening or fastening through both layers into a rigid, no-movement assembly is a common shortcut that leads to buckling and cracked caulk lines within a few years.
3. Flashing at Every Horizontal Transition
Every place a board & batten wall meets a window, door, roofline, deck ledger, or foundation needs proper step or head flashing — kick-out flashing at roof-to-wall intersections especially, since that's one of the most common leak points on any home in this climate. Caulk is not flashing. Caulk fails; flashing sheds water regardless.
4. Bottom Termination and Ground Clearance
Board & batten run down to grade, over a crawlspace vent, or too close to a deck surface will wick moisture no matter how good the product is. We hold siding off hard surfaces and grade per code minimums and, where a lot's grading allows it, more than code minimums given how wet this area stays into late spring.
5. Factory-Finished, Not Field-Painted Edges
Every cut edge gets sealed with a manufacturer-approved edge sealer before installation. Raw, unsealed cut ends are the fastest way for a fiber cement board to take on water at a joint.
Why We Only Install It in James Hardie Fiber Cement
We don't offer board & batten in cedar, primed spruce, LP SmartSide, or vinyl. That's a deliberate standard, not an oversight, and it matters more on this style than most because board & batten has so much exposed vertical grain and so many butt joints.
| Material | Behavior in Conway's Salt Air & Rain | Long-Term Maintenance |
|---|---|---|
| Cedar / primed spruce board & batten | Natural wood movement opens joints; absorbs moisture at cut ends and battens; moss and algae take hold quickly on damp, shaded faces | Repaint or restain every few years; ongoing caulk and rot inspection |
| Vinyl board & batten | Handles moisture fine but flexes and can warp or crack in wind-driven rain and temperature swings; buzzes/rattles loosen over time | Low, but limited repair options once a panel is discontinued or faded |
| LP SmartSide | Engineered wood strand product — better than raw wood, but still wood-based and edge-sensitive if cut edges or joints aren't sealed and maintained | Moderate; edge sealing and caulk maintenance required |
| James Hardie fiber cement | Non-combustible, dimensionally stable in wet/dry cycling, factory-engineered for Pacific Northwest moisture (HZ5 product line) | Low; ColorPlus factory finish holds color without repainting on the typical warranty cycle |
Hardie's fiber cement doesn't swell, cup, or rot the way wood-based products can, and it isn't vulnerable to the warping and heat distortion that shows up on vinyl siding on south- and west-facing walls. For a style with this many joints exposed to Conway's weather, that stability is the difference between a board & batten wall that looks right in year one and one that still looks right in year fifteen.
Our Process on a Conway Job
- On-site inspection — we walk the property, check existing sheathing and framing condition, and identify which elevations take the worst weather exposure
- Moisture and rot check — especially on older Conway properties, we probe behind existing siding at grade, window sills, and roof transitions before quoting anything
- Written scope and estimate — what's being removed, what sheathing repair (if any) is included, drainage plane and rainscreen details, and the specific Hardie board & batten profile and color
- Tear-off and sheathing prep — replace any damaged sheathing, correct existing flashing mistakes before covering them up
- Water-resistive barrier and rainscreen installation — the step that gets skipped elsewhere and never gets skipped here
- Board & batten installation to Hardie's fastening and clearance specs — including flashing at every window, door, and roofline
- Final walkthrough — caulk lines, paint touch-up on cut edges, site cleanup
Why a Crew That Already Works Conway Matters Here
A siding crew that mostly works drier, inland parts of the state will still build a technically code-compliant wall — but "code compliant" and "correct for this microclimate" aren't always the same thing. Working this stretch of Skagit County regularly means we already know which elevations on a Conway property face the worst of the wind off the bay, how much moss pressure to expect on a shaded north wall, and where local permitting and setback questions typically come up for exterior work in unincorporated Skagit County versus inside Burlington city limits. That local pattern knowledge shows up in small decisions — where we add extra flashing, how much rainscreen gap we build in, which wall gets an extra week to make sure caulk cures properly before a rain system moves through — that a crew passing through once wouldn't think to make.
Cost Factors for a Conway Board & Batten Project
| Factor | Why It Moves the Price |
|---|---|
| Full elevation vs. accent application | A gable-end accent costs far less than siding an entire home in board & batten |
| Existing sheathing condition | Rot or moisture damage found during tear-off adds repair scope before new siding goes on |
| Rainscreen/drainage detail | Adding a true rainscreen gap (vs. a basic weather-resistive barrier) adds labor but pays off in longevity here |
| Trim and batten spacing complexity | Tighter batten spacing and more corner/window trim work means more cut edges to seal and more labor hours |
| Access and site conditions | Steep grades, mature landscaping, or limited equipment access around the property affect labor time |
Questions Worth Asking Before You Sign a Contract
- Will there be a rainscreen or drainage gap behind the battens, or are they fastened directly to the weather barrier?
- What's the batten spacing and fastening schedule, and does it match Hardie's published specs for this product?
- How will flashing be handled at windows, doors, and roof-to-wall transitions?
- Are cut edges being factory- or field-sealed before installation, and with what product?
- What does the written warranty actually cover — material, labor, or both — and for how long?
If you're weighing board & batten for a home near Conway, we're glad to come take a look, walk the property with you, and give you a straight answer on what it would take to do the job right — no pressure, no obligation. Reach out below for a free estimate.