 Burlington
 Building New on Fir Island Means Building for the Air, Not Just the View
Fir Island sits low, flat, and close to Skagit Bay, which is exactly what makes it a beautiful place to build — and exactly what makes window selection and installation less forgiving than it is a few miles inland in Burlington or Mount Vernon. Salt-laden air off the water, wind-driven rain that hits walls at an angle instead of falling straight down, and a moss and mildew season that can stretch from October through May all put real, ongoing stress on window units and the framing around them. On a new build, you only get one shot to do this right before siding, trim, and interior finishes close everything up. Get the window opening wrong at rough-in, and you're not fixing a cosmetic issue later — you're fixing a leak path.
This page is about one thing specifically: installing new-construction windows on Fir Island homes, done by a crew that already works this stretch of Skagit County and understands what the site conditions actually demand.
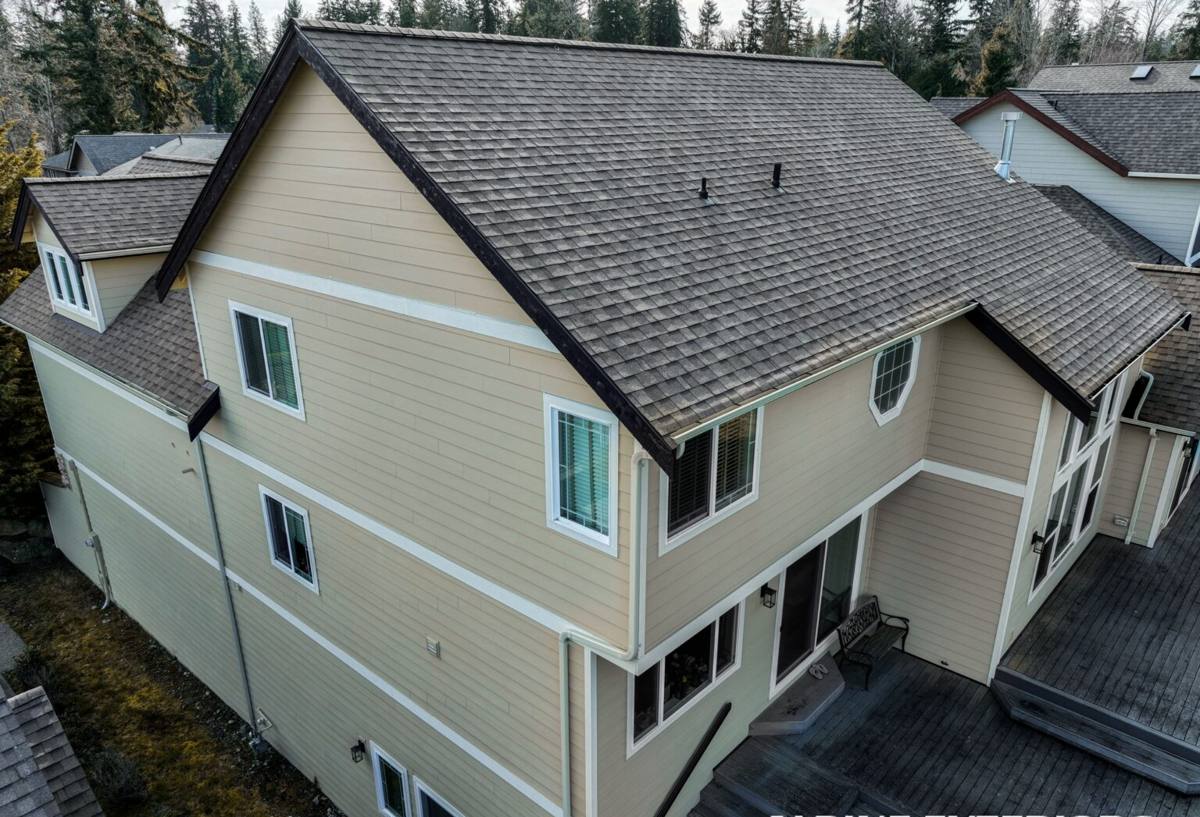
What "New-Construction" Windows Actually Means
New-construction windows are different from replacement windows, and the distinction matters more here than in a dry inland climate. A new-construction window has a nailing flange (sometimes called a nail fin) around the perimeter of the frame. That flange gets integrated directly into the wall's weather-resistive barrier (WRB) and flashing system during framing, before siding goes on. Replacement windows, by contrast, are built to fit inside an existing opening without disturbing the exterior wall — they lean on the old flashing and framing, which is fine for a remodel but is the wrong tool for a home being built from the studs out.
On a new build on Fir Island, you want the nailing-flange approach every time. It lets us build a continuous, shingled water management system — flashing, tape, and WRB layered so water sheds down and out at every layer — rather than patching around an opening after the fact.
Why This Distinction Matters More Near the Bay
Inland, a mediocre flashing job might go unnoticed for years because rain mostly falls straight down and wind-driven intrusion is rare. On Fir Island, wind off the water pushes rain sideways into wall assemblies on a regular basis, and salt air accelerates corrosion on any metal fasteners or trim that aren't rated for it. A flashing detail that's "good enough" elsewhere isn't good enough here — the margin for error is smaller.
What a Correct Installation Involves
A properly installed new-construction window on a Fir Island home isn't complicated, but every step has to happen in the right order and none of them can be skipped to save time.
- Rough opening prep — the opening is checked for square, level, and correct dimension before the window ever shows up on site.
- Sill pan flashing — a sloped, sealed pan at the bottom of the opening so any water that does get past the window sheds outward instead of pooling on the sill and soaking into framing.
- Jamb and head flashing, shingled correctly — side flashing goes on before the window, head flashing goes on after, layered so each piece overlaps the one below it, the same way roof shingles work. This is the detail that separates a window that sheds water for decades from one that quietly rots a wall from the inside.
- WRB integration — the housewrap or building paper is cut, lapped, and taped into the flashing system so there's no gap in the drainage plane.
- Setting the window plumb, level, and square — shimmed correctly so the frame isn't racked, which affects both operation and long-term seal performance.
- Fastening through the nailing flange per the manufacturer's schedule — corrosion-resistant fasteners, spaced correctly, not just a handful of nails to hold it in place.
- Interior and exterior sealant — backer rod and sealant where called for, without over-sealing in a way that traps moisture instead of letting an assembly dry.
Skip the sill pan, reverse the flashing order, or seal the wrong layer, and you can end up with a window that looks fine on install day and causes a rot problem behind the siding two or three winters later — often not discovered until the siding comes off for an unrelated repair.
Product Fit for Fir Island Conditions
We don't push a single brand as the only acceptable option, but we do steer new-construction jobs on Fir Island toward window lines and materials that hold up to salt air and sustained moisture exposure without high maintenance demands.
| Frame Material | How It Handles Salt Air & Moisture | Maintenance Trade-Off |
|---|---|---|
| Vinyl | Doesn't corrode; performs well against salt exposure | Low maintenance, but frame color/finish options are more limited |
| Fiberglass | Very stable in wet, salt-air climates; resists warping | Higher upfront cost, minimal upkeep over time |
| Wood (unclad) | Attractive but the most vulnerable to moss, mildew, and moisture cycling this close to the bay | Requires regular painting/sealing to avoid rot — a real commitment in this climate |
| Wood-clad (aluminum or vinyl exterior) | Cladding protects the exterior face from salt air and rain; interior wood face stays exposed | Moderate maintenance, mainly on interior finish |
For most new builds on Fir Island, we recommend vinyl or fiberglass frames on the exterior-exposed elevations — especially anything facing open water or prevailing wind — because they hold up without repainting or resealing on a recurring schedule. Where a homeowner wants a wood interior look, clad options give you that appearance without putting raw wood on the weather side.
Glass Package Considerations
Double-pane, low-E glass with argon fill is the baseline we'd recommend for this area — it manages both the marine-layer humidity swings and Skagit County's winter heat loss. Triple-pane is worth discussing on north- and west-facing openings that take the brunt of the wind, though it's a cost/benefit conversation, not a blanket requirement for every window in the house.
Our Process for a New-Construction Window Job on Fir Island
- Plan review — we look at window schedules and elevations before framing is finalized, so rough openings are sized correctly the first time.
- Site walk during framing — checking rough openings for square and correct WRB sequencing before windows arrive.
- Flashing and sill pan install — done to a consistent, shingled sequence on every opening, not left to individual judgment call by call.
- Window set and fasten — plumb, level, square, fastened to spec.
- Seal and integrate with siding — coordinated with whoever's doing the siding install (often us, on siding-and-window jobs) so trim and water management tie together as one system instead of two separate trades guessing at each other's work.
- Final walkthrough — operation check on every window, sightlines checked, sealant lines inspected.
Why a Fir Island–Familiar Crew Matters
A crew that installs windows across drier parts of Skagit County but rarely works this close to the water can still do a technically correct install — but "correct" in a builder's manual and "correct for a site three-quarters of a mile from open salt water" aren't always the same emphasis. A crew that regularly works Fir Island already knows which elevations tend to take the worst of the wind-driven rain on a given lot orientation, which fasteners and trim hold up instead of streaking or corroding within a few years, and where builders on this peninsula tend to under-flash if they're not paying attention. That familiarity doesn't replace following the flashing sequence correctly — it just means fewer surprises and less second-guessing on your job.
Common Mistakes We See (and Avoid)
- Reversing the flashing shingle order — head flashing tucked under the WRB before side flashing, instead of over it, so water gets funneled behind the flashing instead of over it.
- Skipping or improvising a sill pan, relying on caulk alone to keep water out of the sill.
- Using standard fasteners instead of corrosion-resistant ones this close to salt air.
- Over-sealing the interior side of the window so any moisture that does get in has no way to dry out.
- Setting windows out of square "close enough," which shows up later as operational problems and uneven weatherstripping wear.
Cost Factors on a New-Construction Window Job
| Factor | Why It Moves the Price |
|---|---|
| Frame material (vinyl vs. fiberglass vs. clad wood) | Fiberglass and clad options cost more per unit than standard vinyl |
| Glass package (double-pane vs. triple-pane, low-E coatings) | Upgraded glass adds cost but reduces heat loss and condensation risk |
| Number and size of openings | Larger units and more openings mean more flashing, labor, and material |
| Elevation exposure | Openings facing prevailing wind/water may warrant upgraded flashing detail or glass spec |
| Coordination with siding trade | Combined window-and-siding scheduling can reduce duplicated setup and trim work |
We don't quote a flat per-window price sight unseen — plan review and a site visit are how we get you an accurate number, and we'd rather walk your framing plans with you than guess.
What to Ask Before Hiring for New-Construction Window Install
- Do you use a sill pan on every opening, or only when it's "needed"?
- What's your flashing sequence, and can you walk me through it?
- Are you fastening with corrosion-resistant hardware given the salt air out here?
- Will the same crew coordinate window install with the siding trim, or is that left to chance between two separate crews?
- Can you show me the rough opening prep before the window goes in, not just after?
If you're framing a new build on Fir Island and want windows installed correctly the first time — flashed, sealed, and fastened for what this climate actually throws at a house — we'd be glad to take a look at your plans. Reach out for a free, no-pressure estimate using the form below.