 Burlington
 Why Guemes Island Siding Wears Differently
Guemes Island sits out in the water off the Skagit County mainland, and that location changes how siding ages. Homes here take a steady dose of salt-laden air off the water, driving rain that comes in sideways during winter storms, and long stretches of shade and dampness that give moss and algae months at a time to gain a foothold. A house doing the same job in a sheltered inland Burlington neighborhood simply doesn't face the same combination of stressors. Siding repair on the island isn't about patching the same generic problems you'd find anywhere — it's about understanding how salt, moisture, and biological growth work together to break siding down faster than the manufacturer's warranty ever assumed.
That's the frame for this page: what Guemes Island homes actually need from a siding repair, what a correct repair looks like given the local conditions, and why it matters that the crew doing the work already understands island jobs.
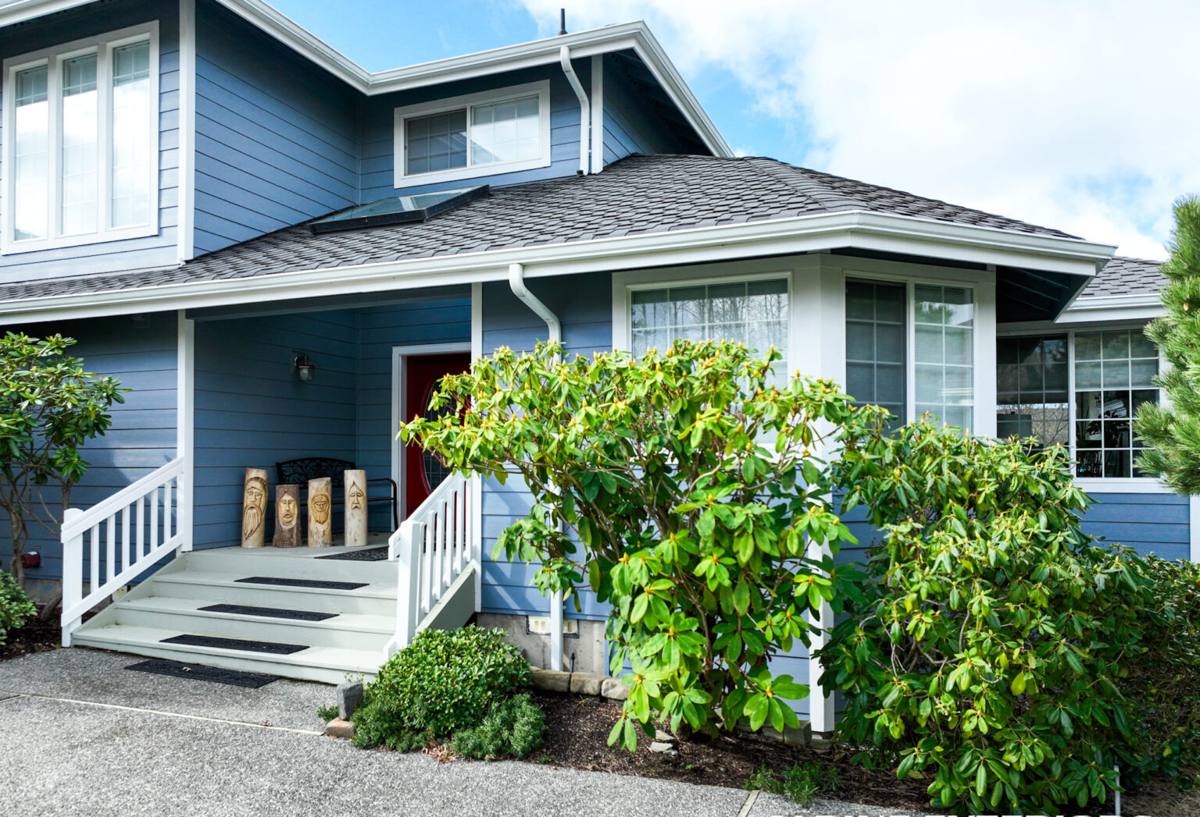
What the Climate Actually Does to Siding Here
Salt Air
Airborne salt doesn't just sit on the surface — it works into fasteners, flashing, and any exposed edge or cut end of siding material. Over years, salt exposure accelerates corrosion in anything that isn't rated for it: standard steel nails, untreated trim fasteners, cheap flashing. Once a fastener starts to corrode, it can streak the siding, loosen its grip, and open a path for water behind the panel.
Driving Rain
Wind off the water pushes rain into seams, laps, and corner joints at angles that calmer sites rarely see. Siding systems rely on correct overlap, caulking at the right joints (and no caulking at the joints that are supposed to breathe), and flashing that actually sheds water outward. On an island exposed to weather from multiple directions, any shortcut in the original installation shows up faster as a leak, a stain, or soft trim.
Moss and Algae Season
Shaded, moisture-retentive spots — under tree cover, on north-facing walls, near gutters that don't drain cleanly — stay damp for extended stretches of the year in this part of Washington. That's exactly what moss and algae need. Left alone, growth holds moisture against the siding surface, degrades paint and caulk, and on materials that aren't dimensionally stable, can contribute to swelling, cupping, or rot at the point of contact.
Signs Your Siding Needs Repair (Not Just a Wash)
- Dark streaking below nail heads or trim fasteners — a sign of fastener corrosion, not just dirt
- Persistent moss or algae that returns within weeks of cleaning, even on a single panel or section
- Soft, spongy, or visibly swollen spots when pressed, especially near the bottom courses or around windows
- Paint or factory finish that's bubbling, peeling, or has gone chalky in patches rather than evenly across the wall
- Gaps opening up at seams, corners, or where trim meets siding
- Visible daylight or drafts at penetrations (vents, hose bibs, light fixtures) where flashing may have failed
- Interior signs — a musty smell, a stained ceiling near an exterior wall, or peeling interior paint — that point to moisture getting in from outside
Any one of these can be a localized fix. Several together, especially on an older installation, usually means the underlying moisture management — not just the visible siding — needs attention.
Repair vs. Replacement: How We Make the Call
| Situation | Usually Repair | Usually Replacement |
|---|---|---|
| Damage extent | Isolated panels, one wall, or one section | Widespread across multiple walls or the whole house |
| Underlying material | Sound siding with a few damaged pieces | Water damage has spread into sheathing or framing |
| Cause | Impact damage, a failed fastener, a cracked panel | Systemic moisture intrusion or product failure |
| Age and product | Newer siding still within its useful life | Original material near or past its practical lifespan |
| Moss/algae history | First occurrence, addressed with cleaning and a fix to the moisture source | Repeated growth that's already degraded the material |
We won't push a full replacement when a targeted repair will genuinely hold up — but we also won't patch over a moisture problem that's going to resurface in a year. Part of an honest assessment on Guemes Island is telling you which situation you're actually in.
What a Correct Repair Involves
1. Find the Real Cause, Not Just the Visible Damage
A cracked or stained panel is usually a symptom. Before any material comes off the wall, we look at what's feeding the problem — a fastener that's failed, a flashing detail that was never right, a gutter dumping water where it shouldn't, or shade and airflow patterns that keep one section of wall wet longer than the rest.
2. Check for Moisture Behind the Surface
Surface damage on siding can hide wet sheathing or framing underneath, especially after long-term exposure. Where there's any sign of a leak history, we check behind the siding before closing anything back up. Repairing over hidden moisture just delays the real problem — and makes it worse.
3. Use Fasteners and Flashing Rated for a Marine Environment
Given the salt exposure out here, we don't reach for standard-grade fasteners. Corrosion-resistant fasteners and properly lapped, durable flashing cost a little more up front and are the difference between a repair that lasts and one that starts streaking again in a couple of years.
4. Match the Existing Siding Correctly
Reworking one section of a wall only looks right — and performs right — if the new material matches the coursing, reveal, and profile of what's already there, with color and finish blended as closely as the existing product allows. A mismatched patch is often more visible than the damage it replaced.
5. Re-seal and Re-flash the Right Way
Caulk belongs at some joints and not others; flashing needs to overlap in the direction water actually travels on your specific exposure. Getting this backwards is one of the most common causes of a "repaired" section leaking again within a season.
Why Island Logistics Matter for This Kind of Work
Guemes Island is ferry-access only, and that changes how a repair job needs to be planned. A crew that hasn't worked the island before often underestimates it — showing up without every fastener, trim piece, and tool they'll need, then losing a day (and a ferry cycle) running back for something they forgot. We plan island jobs around the ferry schedule: materials staged and confirmed before the crew ever loads up, work sequenced so a single trip covers everything, and a realistic timeline set with the crossing built in rather than treated as an afterthought. That planning is part of what makes a repair estimate for Guemes Island accurate instead of optimistic.
Our Process for a Guemes Island Repair
- Assessment. We look at the damaged area, the likely cause, and check for moisture behind the surface where the history suggests we should.
- Honest scope and estimate. You get a clear picture of what's repair-only, what (if anything) needs to go further, and why — no upsell, no guesswork pricing.
- Material match and staging. We source siding, trim, and fasteners that match your existing product and are rated for a coastal environment, and stage everything before the crew crosses over.
- The repair. Damaged material comes out, any underlying issue gets corrected, and the new section goes in with correct fastening, flashing, and sealing.
- Cleanup and walk-through. We clean the work area and walk the repair with you before we call it done.
Where James Hardie Fits Into Repair Work
We install and repair with James Hardie fiber cement exclusively, and on an island exposed to salt air and heavy moss season, that choice matters more than usual. Hardie's fiber cement is non-combustible and dimensionally stable — it doesn't swell, cup, or rot the way wood-based or wood-fiber composite siding can when it stays damp for extended periods, which is exactly the condition shaded and north-facing walls see for much of the year here. The factory-applied ColorPlus finish holds its color under UV and salt exposure far better than field-applied paint, which means repaired or replaced sections keep looking right instead of fading unevenly against older painted trim. Hardie's HZ5 product line in particular is engineered for the kind of moisture and freeze-thaw conditions the Pacific Northwest coast produces, and it carries a strong transferable warranty when installed to spec — which is the installation standard we hold ourselves to on every repair, not just full replacements.
When a repair calls for patching in new material, matching to Hardie product lets us tie the new section into the old with a product that's actually built for this environment, rather than compounding the problem with something that will just fail again on the same timeline.
Maintenance Checklist Between Repairs
- Rinse siding annually, and more often on shaded or north-facing walls prone to moss
- Keep gutters clear so water isn't dumping directly onto or behind siding sections
- Trim back vegetation that's shading walls and keeping them damp longer than necessary
- Re-caulk gaps at trim and penetrations as soon as you notice them, before water gets behind the surface
- Walk the exterior after major winter storms and check for loosened panels, trim, or fasteners
- Address small issues promptly — a single loose panel is a quick fix; the same panel after a winter of driving rain behind it is a bigger job
Get an Honest Look at Your Siding
If you're seeing streaking, recurring moss, soft spots, or you're just not sure whether what you're looking at is a quick repair or something bigger, we're happy to take a look. We'll give you a straight answer about what's actually going on and what it'll take to fix it right — with the ferry schedule and island logistics already factored in, not discovered halfway through the job. Reach out for a free, no-pressure estimate using the form below.