 Burlington
 Oak Harbor's Climate Is Rougher on Siding Than It Looks
Homes near Oak Harbor deal with a combination that a lot of siding products simply weren't built for: salt-laden air off the water, long stretches of driving rain, and a moss season that can run most of the year in the shade of mature evergreens. None of these are dramatic events on their own. It's the constant, low-grade exposure — day after day, season after season — that wears down the wrong siding material or a sloppy installation.
Salt air accelerates corrosion on fasteners and trim, and it settles into porous or poorly sealed surfaces in a way that inland siding never has to tolerate. Driving rain, especially when it comes in at an angle off the water, tests every seam, joint, and butt edge on a wall. And moss doesn't just grow on roofs — it takes hold on north-facing siding, in shaded corners, and anywhere moisture lingers a little too long. A board and batten installation that isn't detailed correctly for this environment will show problems years before it should.
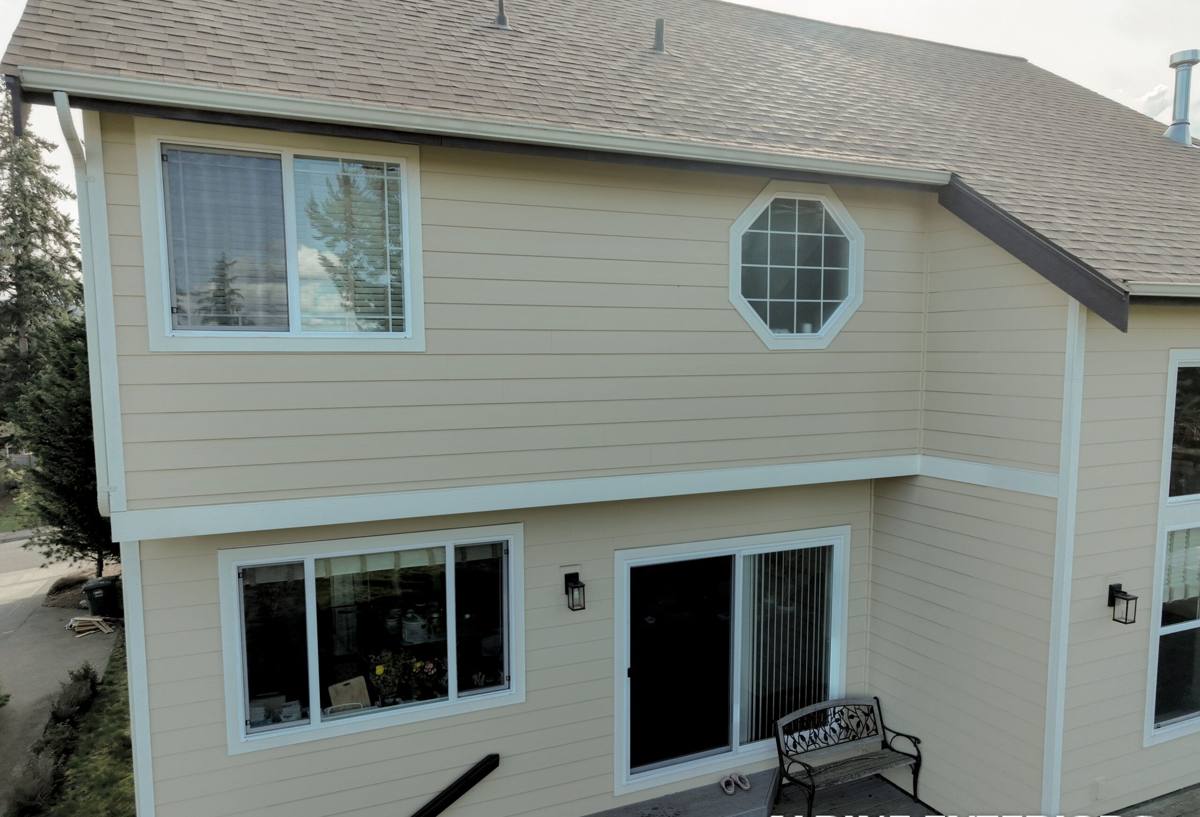
Why Board & Batten Works Well for This Area — When It's Done Right
Board and batten is a vertical siding pattern: wide boards installed with narrow battens covering the seams between them. It's a look that suits a lot of homes in and around Oak Harbor, from farmhouse-style builds to more modern coastal exteriors, and it has a real functional advantage in a wet climate — the vertical lines shed water straight down the wall instead of relying on horizontal laps to do all the work.
That said, the pattern is only as good as the material and the install behind it. Vertical siding creates more seams and butt joints per square foot than traditional lap siding, and every one of those joints is a potential entry point for moisture if it isn't flashed, caulked, and fastened correctly. In a climate with this much rain and salt exposure, board and batten done poorly fails faster than a lot of other styles. Done correctly, it holds up as well as anything on the market.
What Homeowners Notice First
- A cleaner, more architectural look than standard horizontal lap siding
- Distinct board widths and batten spacing that can be adjusted to the home's proportions
- A finish that reads well from the street on both traditional and modern homes
- Vertical water flow that reduces standing moisture on flat horizontal surfaces
Why We Only Install James Hardie Fiber Cement for This Application
We don't install vinyl board and batten, LP SmartSide, Cemplank, Allura, or primed wood options like spruce or cedar. That's a deliberate standard, not a matter of preference, and it matters more here than in a drier inland market.
Vinyl board and batten flexes and expands with temperature swings, and in a marine environment the combination of UV, salt, and moisture tends to show at the seams first — fading, warping, or gaps opening up at the battens over time. LP SmartSide is an engineered wood product, and any wood-based siding is more vulnerable to moisture intrusion at cut edges and joints; in a climate with this much sustained rain and humidity, that's a real long-term liability, not a hypothetical one. Cedar and primed spruce need more frequent refinishing to keep moisture out, and in a moss-prone, salt-air environment, that maintenance schedule gets demanding fast. Cemplank and Allura are also fiber cement, and they're reasonable products, but we've standardized on one system so our crews install it the same correct way every time, and so the warranty coverage is consistent across every home we work on.
James Hardie fiber cement is non-combustible, dimensionally stable, and factory-finished with ColorPlus technology, which means the color is baked on before the boards ever reach the jobsite — it isn't a field-applied paint job that has to fight salt air and UV from day one. Hardie's HZ5 product line is specifically engineered for climates with more moisture exposure, which fits this region better than a generic siding product designed for a national average.
What a Correct Board & Batten Installation Actually Involves
The board and batten pattern looks simple, but the installation details are what determine whether it lasts 10 years or 40. On a coastal or high-rain property, these details are not optional extras — they're the difference between a wall that sheds water and one that traps it.
The Non-Negotiables
- Rainscreen gap: a ventilated air space behind the siding lets any moisture that gets past the surface dry out instead of sitting against the sheathing
- Correct fastening: fasteners placed and spaced to Hardie's engineering specs, not just "close enough," and driven so they don't crack the board or overdrive into the substrate
- Flashing at every horizontal transition: window heads, roof-to-wall intersections, and any place water can run behind the siding
- Butt joint treatment: every horizontal seam between boards needs to be flashed or backed, not just caulked and hoped for
- Batten spacing and fastening: battens have to cover the joint fully and be fastened into framing, not just into the board beneath them
- Proper clearance: siding kept off grade, decks, and roof lines per manufacturer minimums so it isn't sitting in standing water or splash-back
Skipping any one of these doesn't cause an immediate failure. It causes a slow one — moisture works its way in over a couple of wet seasons, and by the time it shows on the surface as staining, soft trim, or a bulging panel, there's often already damage behind the wall.
Common Problems We See on Older or Poorly Installed Siding Here
| Symptom | Likely Cause | Why It's Worse Locally |
|---|---|---|
| Dark streaking or moss growth on north-facing walls | Poor sun exposure combined with no rainscreen gap | Extended damp season gives moss more time to establish |
| Cracked or failed caulk at butt joints | Caulk used as the primary water barrier instead of proper flashing | Constant rain cycles caulk through expansion and contraction faster |
| Rust staining below fasteners | Non-corrosion-resistant fasteners | Salt air accelerates fastener corrosion |
| Soft or delaminating trim at corners | Wood trim used without adequate sealing or flashing | Sustained moisture exposure finds any gap in the finish |
| Warped or bowed battens | Battens fastened only into the board, not into framing | Repeated wet/dry cycling works fasteners loose over time |
Our Process for Board & Batten Projects in the Oak Harbor Area
We start with an on-site look at the existing siding, wall assembly, and any moisture damage that's already present — you can't spec a new installation correctly without knowing what's happening behind the current wall. From there we walk through board width, batten spacing, and color options that fit the home, confirm what's needed for proper water management given the home's exposure (a south or west wall facing open water gets more attention than a sheltered wall), and put together a clear scope before any work starts.
Installation follows manufacturer specification for fastening, flashing, and rainscreen detailing at every stage — not just at the visible surface. We treat the prep and flashing work as the actual job, with the finished siding as the visible result of doing that part correctly. Once installed, we walk the completed work with the homeowner before calling it done.
What We Cover Before Work Begins
- Current condition of sheathing and any existing moisture damage
- Sun and wind exposure by wall, since that affects moss risk and rain intensity
- Board width and batten spacing options that suit the home's proportions
- ColorPlus color selection and trim coordination
- Clear written scope covering flashing, fastening, and clearance details
Living with Board & Batten in a Salt Air, High-Moss Climate
A correctly installed Hardie board and batten system needs very little upkeep, but "very little" isn't "none." A short annual check catches small issues before they become expensive ones.
- Rinse salt residue and moss spores off the siding once or twice a year, especially on walls facing open water or shaded by trees
- Keep gutters clear so overflow doesn't run down the wall and feed moss growth at the top course
- Trim back vegetation and tree cover that keeps siding damp longer than it needs to be
- Check caulking at trim and penetrations annually and touch up before gaps widen
- Have any impact damage or fastener issues addressed promptly rather than left through another wet season
What Cost Depends On
| Factor | Why It Matters |
|---|---|
| Home size and wall complexity | More corners, dormers, and transitions mean more flashing and cutting |
| Current wall condition | Rot or moisture damage found during tear-off adds repair scope |
| Board width and batten spacing chosen | Narrower boards mean more material and labor per square foot |
| Existing rainscreen or lack of one | Adding proper ventilation behind siding where none exists is additional work |
| Trim and accessory scope | Corner boards, window trim, and fascia detailing add to the total |
We give real, project-specific numbers after seeing the home — broad national averages don't mean much once you factor in wall condition and exposure, which vary a lot from one property to the next even within the same neighborhood.
Why It Matters That We Already Work in This Area
A crew that regularly works in coastal Whidbey Island and North Puget Sound communities already knows how much attention a west- or south-facing wall near open water needs compared to a sheltered inland wall, and how much of a head start moss gets on a shaded north side through a long wet season. That's not something you pick up from a spec sheet — it comes from seeing how siding actually holds up in this specific environment over years, not just installing it and moving to the next job. It shows up in small decisions: where we add extra flashing attention, which fastener spacing we won't compromise on, and which details we won't skip even when they add time to the job.
If you're planning new siding or replacing failing siding on a home in the Oak Harbor area, we're happy to take a look and give you a straightforward, no-pressure estimate — including an honest assessment of what your walls actually need. Use the form below to get started.