 Burlington
 Building New on Samish Island Comes With Its Own Window Rules
Samish Island sits right where fresh construction meets salt water, open wind, and some of the wettest weather Skagit County sees. If you're framing a new home or a major addition out here, the windows you choose and how they're installed matter more than they would on a typical inland Burlington lot. Salt-laden air corrodes hardware and fasteners faster than people expect, wind-driven rain finds any gap in the flashing, and the long stretch of damp, low-light months each year gives moss and mildew plenty of time to work on anything that isn't detailed correctly the first time.
New construction is actually the best time to get this right. Unlike a retrofit, you're not working around an existing wall assembly — you get to build the water management system into the rough opening from day one. That's an advantage worth taking seriously, because a mistake made now gets buried behind siding and trim for the next few decades.
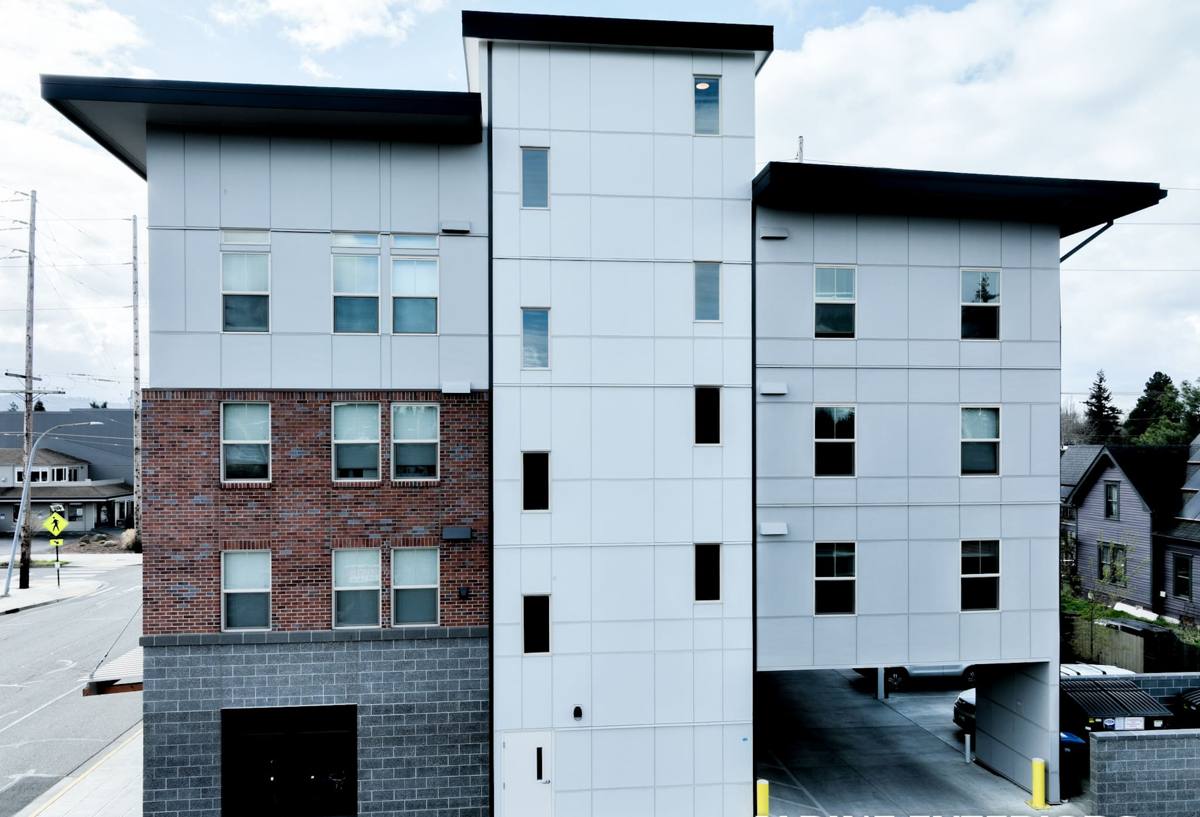
What "New-Construction Windows" Actually Means
There's a real difference between a new-construction window and a replacement (pocket) window, and it matters for a fresh build:
- New-construction windows have a nailing fin around the perimeter that gets integrated directly with the house wrap and flashing before siding goes on. This is the correct choice for any new build, addition, or full wall replacement.
- Replacement windows are designed to fit inside an existing, already-flashed frame with no nailing fin — the wrong product for new framing, even though they're sometimes installed that way to save a step.
Using a nailing-fin, new-construction window and integrating it properly with your weather-resistive barrier is non-negotiable for a Samish Island build. It's the only approach that gives you a continuous drainage plane from roof to foundation, which is what actually keeps wind-driven rain out over time.
Why This Matters More Here Than Inland
Burlington and the rest of Skagit County get plenty of rain, but Samish Island adds exposure — open water on multiple sides, less wind break than a tree-lined inland lot, and salt content in the air that accelerates corrosion on anything galvanized or untreated. A flashing detail that's "good enough" on a sheltered lot ten miles inland can fail here within a few wet seasons.
Material and Hardware Choices for Salt Air
Not every window product handles a marine-adjacent environment equally well. This isn't about brand-bashing — it's about matching the product to the exposure.
| Consideration | What to look for | Why it matters on Samish Island |
|---|---|---|
| Frame material | Vinyl with UV/marine-grade formulation, or fiberglass | Resists salt corrosion and won't pit or rust like untreated metal hardware can |
| Hardware (locks, hinges, cranks) | Stainless steel or coated corrosion-resistant hardware | Standard-grade hardware can start showing rust and pitting within a couple seasons this close to salt water |
| Glazing / seal | Dual or triple-pane with a warrantied seal | Constant humidity swings stress seals; a failed seal shows up as fogging between panes |
| Flashing tape/sealant | Flexible, UV-stable, rated for the temperature range | Cheap tape gets brittle and loses adhesion faster in damp, salt-exposed conditions |
| Fasteners | Stainless or coated exterior-rated screws/nails | Standard fasteners can corrode and stain siding or trim over time |
Wood-clad windows can look great, but on an island lot with constant moisture and salt exposure, the cladding and any exposed wood detail need more diligent maintenance than vinyl or fiberglass. We'll walk you through the trade-offs honestly rather than just push whatever's easiest to install — appearance, maintenance burden, and long-term moisture behavior all factor into what we recommend for a specific elevation and exposure.
The Installation Sequence That Actually Keeps Water Out
A correct new-construction window install follows a specific order. Skipping or reordering these steps is the single most common reason a window that looked fine on install day leaks two winters later.
- Rough opening check — verify it's square, level, and sized correctly with proper clearance.
- Sill pan flashing — a sloped, sealed pan at the bottom of the opening so any water that gets past the window has somewhere to go besides your framing.
- Back-dam and jamb flashing — flashing tape integrated up the sides before the window goes in.
- Window set and fastened — nailing fin secured per the manufacturer's pattern, not "close enough."
- Head flashing — installed last, lapping over the housewrap above the window so water sheds outward and down, never behind the barrier.
- House wrap integration — all layers shingled correctly (top laps over bottom) so the whole wall drains as one system.
- Interior and exterior sealant — appropriate sealant at the right points, leaving weep paths clear so trapped moisture can escape.
On Samish Island specifically, we pay extra attention to the sill pan and back-dam detail, since wind-driven rain here comes from more directions than it does on a sheltered inland lot. A window that only manages water coming straight-on isn't enough.
Working Alongside Your Builder or GC
Most of our new-construction window work happens as part of a larger build, which means coordinating with a general contractor or builder rather than working solo. That coordination matters:
- We confirm rough opening sizes against the actual window order before framing is closed in, catching sizing mismatches while they're still cheap to fix.
- We time our install around the house wrap and any structural sheathing steps so flashing gets integrated in the right sequence, not layered on after the fact.
- We flag any framing or sheathing issues we see at the opening — square, level, rot from delayed dry-in — before they get buried behind windows and siding.
- We coordinate with the siding and trim schedule so the window-to-siding transition is planned, not improvised on install day.
If you're the homeowner managing your own build, we're glad to work directly with your GC or framing crew to make sure this handoff goes smoothly.
What Drives Cost on a New-Construction Window Job
| Factor | Why it moves the price |
|---|---|
| Number and size of openings | More or larger windows means more material and labor hours |
| Frame material | Vinyl is typically the most economical; fiberglass and wood-clad cost more upfront |
| Glazing package | Triple-pane or upgraded low-E coatings add cost but pay back in comfort and efficiency |
| Elevation and exposure | Openings on the water-facing or wind-exposed side may warrant heavier-duty flashing details |
| Access and staging | Second-story or hard-to-reach openings add labor time |
| Coordination complexity | Tight scheduling with a GC on an active build site can affect timeline and cost |
We're happy to walk through your specific plans and give you a real range rather than a generic per-window number — every build's opening count, elevation exposure, and product selection is different.
Mistakes We See on Island and Waterfront Builds
- Nailing fin windows installed without a proper sill pan, relying on caulk alone to keep water out.
- House wrap taped in the wrong order (bottom lapping over top instead of the reverse), which channels water into the wall instead of away from it.
- Standard-grade fasteners and hardware used on a salt-exposed elevation, leading to early corrosion and staining.
- Head flashing skipped or installed under the house wrap instead of over it.
- Windows ordered before final rough openings are confirmed, causing costly on-site resizing.
Every one of these is preventable with the right sequence and the right product match — which is really the whole point of hiring a crew that's done this specific kind of install before, in this specific kind of exposure.
Why Local Experience on Samish Island Matters
Skagit County covers a lot of ground, and not every part of it behaves the same way weather-wise. A crew that mostly works sheltered inland lots doesn't necessarily know how much more attention a Samish Island elevation needs, or which hardware and sealant choices hold up against the salt air here versus a Burlington neighborhood a few miles east. We work this area regularly, so we're not guessing at exposure levels or relearning the local moisture behavior on your project. That experience shows up in the flashing details, the hardware we spec, and the maintenance advice we give you once the windows are in.
Living With New Windows Through Moss Season
Once your new-construction windows are in and the build is finished, a little seasonal attention keeps them performing:
- Keep weep holes at the bottom of the frame clear of debris and moss buildup, especially heading into fall and winter.
- Rinse salt residue off frames and glass periodically if you're on a direct water-facing elevation.
- Check exterior sealant lines annually for cracking or separation, since UV and moisture cycling break down sealant faster here than in a drier inland climate.
- Watch for any staining below the frame, which can be an early sign a flashing detail needs a look before it becomes a bigger problem.
If you're planning a new build or addition on Samish Island and want windows installed the right way from the start, we're happy to walk the plans with you and give you a straightforward, no-pressure estimate. There's a form below to get that conversation started.